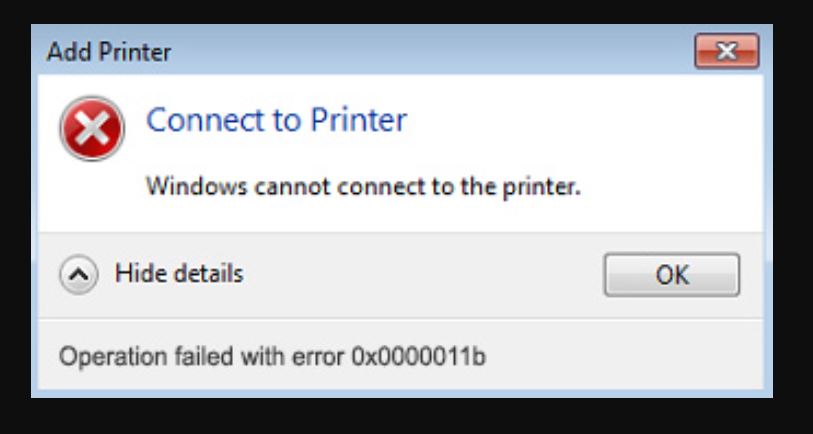
A network printer is a printer that doesn’t have any physical wires to connect and print documents. So, you can print any documents wirelessly with the printer. But sometimes, when we try to print on a network printer on Windows 11 and Windows 10 PC, we can’t print and install it. An error message appears when we try to print through the network printer on the Windows PC, like “Windows cannot connect to the printer; the operation failed with error 0x0000011b”.
If you face the error “The operation failed with error 0x0000011b” message, do not panic. Several methods will fix this error. We will try to explain them here.
6 ways to fix 0x0000011b cannot connect to the printer error in Windows 11/10:
This error can occur for many reasons, such as a problem with the most recent Windows updates, a problem with the driver, or a problem with the printer itself. So we provide the methods below to help you fix the printer error and easily print any vital document.
- Update your Windows.
- Uninstall or remove the Windows Updates.
- The Registry Modify.
- Installing the Printer Driver.
- Run the Troubleshooter.
- Set a Static IP address.
Method 1: Update your Windows
In the first method, we try to check the Windows updates. If any update is pending, update your PC to the latest version of Windows 11/10. If there are any bugs or errors, updating Windows can fix them. Now, follow the given steps.
- Open your Windows Settings and click on the Windows Update option.
- If any update is available or pending, click on the download button.
- Or, if there are no pending updates available, click on the check for updates.
- After the update is complete, restart your computer.
- Now, check the printer error 0x0000011b.
Method 2: Uninstall or remove the Windows Updates
If you haven’t received any updates on your Windows, the best way to resolve the problem is to uninstall the latest Windows Updates. Many users reported that the problem occurred with the most recent Windows updates. When they uninstall the most recent update, this will fix the printer error. So follow the method.
- Open your Windows Settings and click on the Windows Update option.
- Now, search for the Advanced option and click on recovery.
- Under the recovery, click on the Go Back button.
- Follow on-screen instructions.
- After that, this will uninstall the latest Windows updates.
Now restart your computer and then check the error.
Method 3: The registry Modify
If you don’t want to uninstall the security update, you must modify the Registry.
- In the search box, type Registry and open it.
- Now, navigate the following section.
HKEY_LOCAL_MACHINE\System\CurrentControlSet\Control\Print.
- Navigate the Print and right-click on it.
- Select a new DWORD(32-bit) value.
- Name it as “RpcAuthnLevelPrivacyEnabled”
- Now, please double click on it, set it to 0 value, and click the OK button.
- After that, restart your computer.
Method 4: Installing the Printer Driver
In this method, we are installing the Printer driver and trying to fix the “The operation failed with error 0x0000011b” message. So you can run the command prompt as administrator and then enter.
reg add "HKEY_LOCAL_MACHINE \ Software \ Policies \ Microsoft \ Windows NT \ Printers \ PointAndPrint" / v RestrictDriverInstallationToAdministrators / t REG_DWORD / d 1 / f
Method 5: Run the Troubleshooter
If you run the Troubleshooter, it might help you recognize the issues. A printer troubleshooter is a built-in feature in the Windows 11/10 operating system. So, follow the steps to run the Troubleshooter.
- Open the Settings on your Windows and click on the system.
- Scroll down and tab on Troubleshooter.
- Now, select the other Troubleshooter.
- Navigate the printer and click on the RUN button.
- After a few seconds, the Troubleshooter will run the test.
Method 6: Set a Static IP address
In the last method, we can set a static IP address and try to solve the Printer Error 0x0000011b on Windows 11/10.
- Open the Settings and click on the Device option.
- Now, click on the “Printers & Scanners“ in the right sidebar.
- Add a printer and Scanner option.
- You will see the “The printer that I want isn’t listed” option.
- Select the “Add a printer using a TCP/IP or hostname” in the add printer window and click on the Next button.
- Set an IP address or the Hostname of the printer.
- Now, check the printer error 0x0000011b on Windows 11/10.
We hope your Network error has been solved by following these methods.